Monday, February 21, 2011

A busy weekend.........

.....I met Mama Spark at Zumba Gold Friday morning for 10:15 a.m.
rushed home...finished vacuuming and showered
before my DDIL, Dniece and DGS arrived Friday in time for lunch. 
Mama Spark joined us for the day ....I made everyones favorite sandwiches......
egg salad, roasted chicken salad with red grape, and ham salad....
had veggies and dip and reduced fat kettle chips...
Mama Spark brought rice krispie squares and chocolate chip banana bread
and I had oatmeal raisin and chocolate chip cookies....
everything was YUMMY and
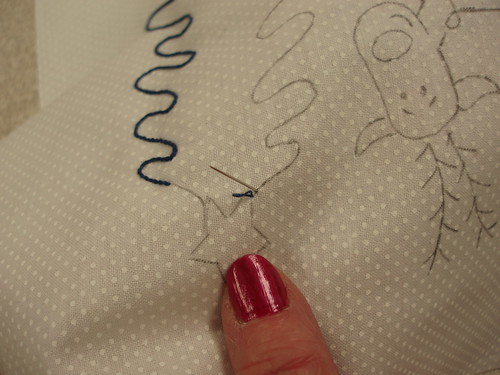
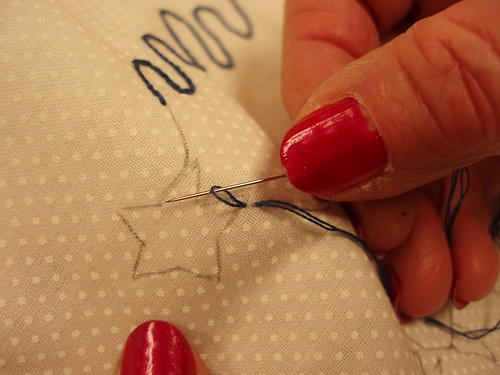
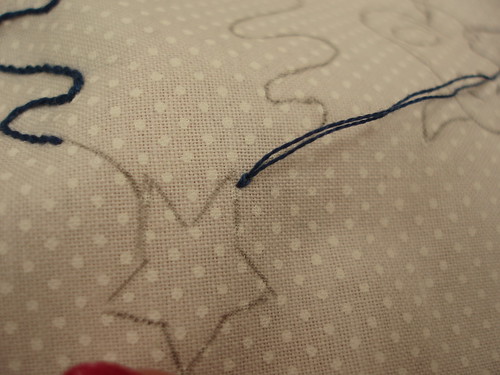
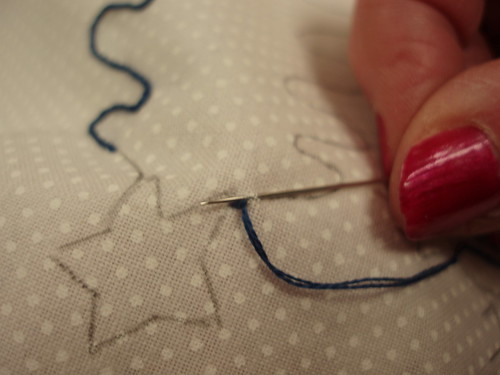
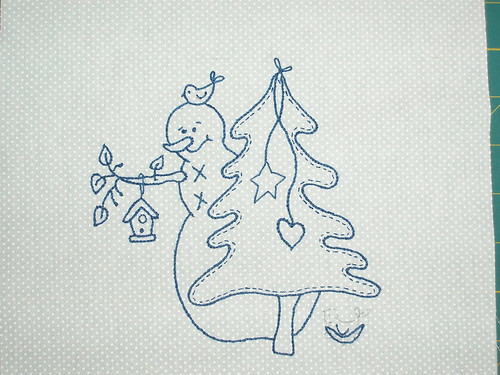
then we headed to the basement to SEW and sew some more

My Dniece finished a baby quilt....Eat, Play, Sleep, Repeat quilt...
and started working on another Moda Bake Shop quilt. Not sure the name of it...
She had a very good sewing weekend....
as did DDIL who worked on her DD1 quilt and
2 twin size quilts will be going to Liz's for quilting on Friday....
DD1 will be sEw happy to get her new quilts.....Heather Ross fabrics...she is excited!!
I'll take pictures after they are quilted. 

For supper I made 2 pasta dishes ...
chicken breast with alfredo sauce and orecchiette pasta
and ruffles pasta with meatballs....
caesar salad and flat bread....
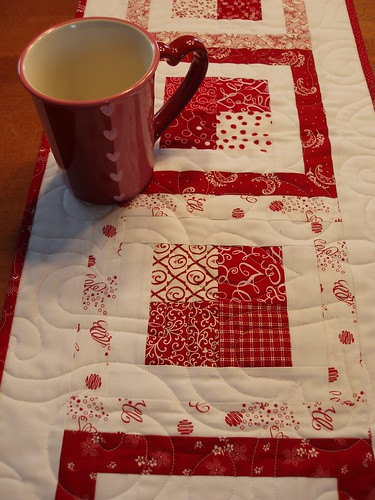
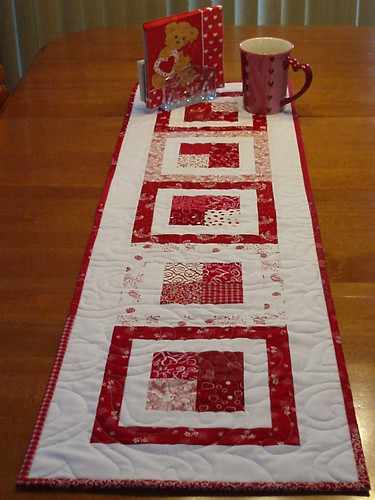
thanks for the picture Mama Spark...she is always taking pictures.

FNSI Dinner

After dinner we went to the basement to sew again......
...it was Heidi's Friday Night Sew In.

 Mama Spark left about 9 o'clockish 
..... the rest of us called it a night around 11:00 p.m.

I didn't take any pictures......bad ME!!!

Saturday we did a little shopping...
.....Target, Kohl's, Joanne's Fabrics and Bath and Body
then it was more sewing....
...in the a.m. DH took DGS to Liz's farm and dropped off 3 for Liz to quilt
.. he loved the farm but Mr. Rooster wasn't happy!!
and then to the movies in the p.m.
Sunday DDIL and Dniece did a little more shopping....
....had lunch and headed out before the storm arrived.
They made it back to Canada without any bad weather.

It started snowing here around 1:30 while I was at JAF's
looking for medium size brown ric rac.
We got about 12" of heavy snow....and we are suppose to get 2 more storms this week.
I've just about had enough of Old Man Winter!!!!

To day was quiet....I sewed on my secret project....
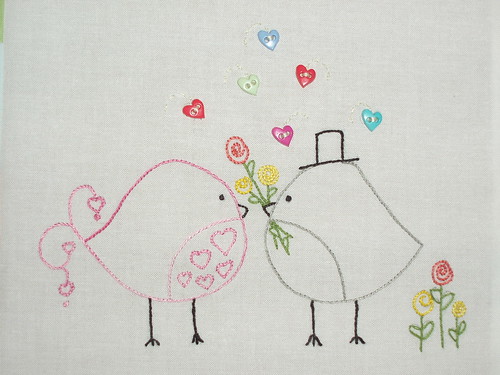
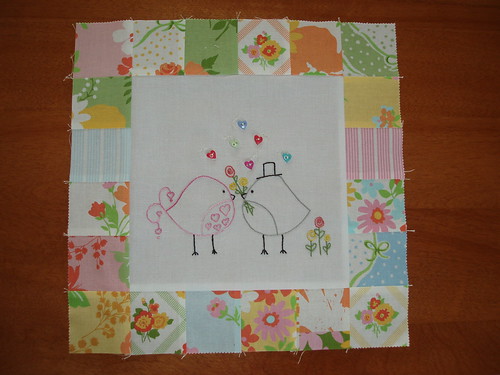
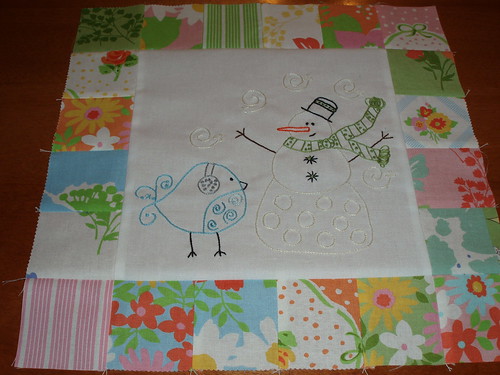
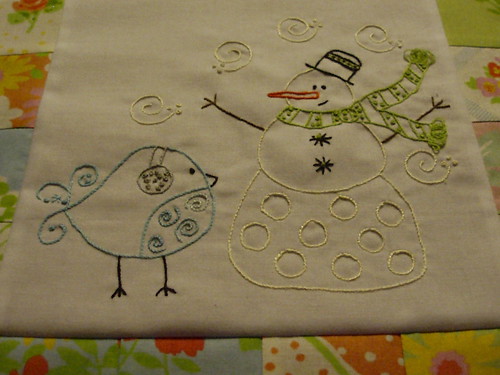
and finished block 2 of Little Miss Shabby's Birdie BOM.
....they look sEw darn cute....

LMS Birdie BOM closeup block 2

LMS Birdie BOM block 2

Hugs and Happy Stitching


Monday, February 14, 2011

♥HAPPY VALENTINES DAY♥

and the winner is.............StitchinByTheLake.  

She chose the Lily and Will II charm packs.  

Thank you for all your wonder comments. 

Please visit often.......I do have more tips to share.

I am stitching the free Birdie BOM from Little Miss Shabby.....block one is finished.
I'm using Moda's 'Dream On' by Urban Chicks......love how this block turned out:)

LMS Birdie BOM Block 1

sorry about the next picture...it is bad....yellow

LMS Birdie BOM Block 1 Closeup


hugs


Saturday, February 12, 2011

Giveaway ends soon....

.....my giveaway is ending Monday February 14
...GIVEAWAY ENDED...
Valentine's Day

tablerunner close up

Four easy steps to WIN.  Here they are again....
  • Leave a comment on 'Sew We Quilt @ Stash Manicure'
  • Leave a comment on my blog.
  • Be a follower of Stash Manicure
  • Be a follower of QuiltnQueen

I have received a number of comments on both blogs that had a no-reply email. 
I must have a way to contact you...or I will draw another name.

The no-reply emails do make me sad..... :o(

I would like to thank everyone for your comments...
loved reading every one of them.....
you made me smile and I had a few chuckles :o)...

I had a few direct questions that some asked and I will email you direct....soon, I promise.

A number of you mentioned you were going to try the 3/8" seam allowance 
to stitch your binding to your quilt.
Just remember......
 ....if the outside edge of your quilt does not allow for the wider seam allowance
because of stars or triangle points being chopped off
you would have to use the 1/4" as usual.
The 3/8" seam allowance works best with quilts that have a
......plain border...a piano key border...watch for points.


....my first mug rug

P1290418


hugs


Wednesday, February 9, 2011

I'm a guest blogger on Stash Manicure....


I feel as I've been preparing to go on a trip and the day has finally come
.....just a wee bit excited 
.........my first time as a guest blogger at Stash Manicure.

I'll be talking about :

BINDING:

PREPARING YOUR BINDING,
CORNERS,
AND JOINING YOUR BINDING ENDS


There are many ways quilters attach and complete the binding process.  
To some... this is the part of making a quilt a lot of quilters struggle with. 
Hop on over to Stash Manicure 
read my tutorial and then come back and enter my giveaway:)

tablerunner 2


The winner will be able to choose their gift...

1. The table runner is quilted, bound and ready to gift....or
2. Two charm packs of Lily and Will II....or
3. Visit Crazy Quilt Girl Fabric Shop and if you see 2 charm packs
you can not live without.... let me know which 2 they are.


TO WIN....

...be a follower of Stash Manicure and leave a comment on Stash Manicure

... follow or become a follower of my blog QuiltnQueen
leave a comment telling me which one of the 3 prizes you would like to win
just say 1, 2 or 3 then
.....tell me something... like......what you found most useful about this post
or say "that is exactly how I bind my quilts" or
.....something like I've got # sewing machines.

Just one comment on Stash Manicure and
one comment on this post.

Please make sure I have an email to contact you.

The drawing will be on February 14...Valentines Day

I hope you enjoyed my post....Thank you for your comments:)


Here is a summary of the tips in my tutorial.

1.  Use a walking foot to attach your binding to your quilt.
2.  Always start with square corners....square up your quilt with a large square ruler.

3.  Always leave the binding tails about 12" long and your opening about 18".

4.  Pin a pleat in your quilt at the opening before joining your binding ends.
(this makes it easier to work with the binding ends)
5.  The width you cut your binding strip...say you cut it 2 1/4"
OK then.... the amount of extra binding you will need is 2 1/4"
when using the 45 degree angle method to stitch the binding ends together  .

Do you want to know why I use a piece of my binding to measure...
I know it is the right length ....and I don't have to look for my tape measure.
Accuracy is important for the binding to fit perfectly flat in the opening.

If you have any questions...... send me an email and I'll be glad to help.
You will be surprised how easy it is.

************GIVEAWAY IS NOW CLOSED************

Hugs from Michigan


Tuesday, February 8, 2011

...a HUGE THANK YOU....

.....to the most generous and talented MADAME SAMM !!
 ...it definitely was a unexpected SURPRISE!!


.......it started Friday afternoon....
I was out helping a friend and
when I got home the telephone message light was flashing......
Ontario call.....I thought to myself....
I don't recognize the number...
I listen to the message and this sweet voice said "this is.....but I didn't catch the name...
listened again....still didn't catch the name...but I did get
"drop me a line when I can call you back....talk to you soon".
The voice was so soft, calming ....angel like.
I thought 'who is this'
I hit the dial button and there was this sweet voice again.
I identified myself and then asked....who is this?
"This is Madame Samm....."
....well I just about peed my pants, my heart started racing.....
my feet started dancing.
She called me.....yes ME right out of the clear blue...ME....still can't believe it....
said she wanted to give MY blog a makeover...
 
....from this point I'm not sure what I said to her...
I just couldn't think...I know she asked me a few questions 
but I'm not sure what they all were or if I even answered them...
I was sEw EXCITED.....I do remember saying I like the color red...
but she said she is 'visioning' the color blue....and I do like blue
I'm good with blue...
after what seemed like only a few minutes
we said our good byes....as I set the phone down....length of call 53 minutes
OMG I talked for 53 minutes to her and I know she is one busy lady.
I thought to myself how did she get my phone #....
I quickly dialed my BFF Mama Spark....and still squealing with excitement
said.....I just got off the phone with Madame Samm
and she wants to give OUR blogs a makeover... YOURS and MINE.
she was laughing and excited too....then she says
"yes I know MSamm emailed me and asked if  I would give her your phone #".
Mama Spark then says to me
"you have no idea how hard it was to keep this secret from you"
....I had already talked to her earlier in the morning and not a peep,
her lips were definitely sealed....

....it's now Saturday morning
the phone rings....it's Madame Samm....
and the same excitement hits me....my hands are going, my feet are dancing
my mind is racing and I'm feeling hyper...calm down I say to myself.
At this point I think she said she was going to use red....
and I said...something like...red is good.
After a few more emails and phone calls
I get an email from Madame Samm saying 'take a peak'
I loved it immediately....the pinkish red with polka dots is absolutely perfect.
How did she know I luv polka dots.....
how did she know I was now thinking that red may be too harsh
a dark pink....almost red....might be better
then she tells me 
she made that shade of pinkish red.....just for me....she says nobody else will have it.
Then came another email with my very own button


and then a signature tag.

  
designed by the amazing talented Madame Samm...lol
Needless to say I'm still floating about 6" off the floor.


Madame Samm.....
....you have unselfishly touched me with your kindness and generosity
 given me encouragement .....
when I lacked confidence in myself...
.....from the bottom of my heart......THANK YOU :)

Hugs from Michigan 


You will love Mama Spark's blog....it's awesome too.


Wednesday, February 2, 2011

No knots to start your embroidery.....


...have you noticed we are seeing more and more embroidery designs in quilts..
....and embroidered tea towels are making a big comeback.
I love doing embroidery...I find it very relaxing.

Moda tea toweling with Bird Brain Designs stitcheries.


I use a # 11 embroidery needle....it is nice and fine....
I do not use a hoop.....
I almost always use 2 strands of floss ...
and I take very small stitches....
I prefer to stop and restart...... instead of  traveling.
I am one of those quilters that likes the back of my blocks to look neat....
and the back of my embroidery projects....
... especially my embroidered tea towels.
I try to avoid all knots if I can.

Here is how I start my stitcheries.....

I start with one strand of floss about 36 inches long,
I fold the floss so the cut ends are together...
...thread both cut ends through the eye of your embroidery needle.
from the front of your block stitch through to the back side
leaving the small loop showing on the front...now....
take a very tiny stitch and bring the needle back to the front


P1190373


you will have a loop on the front...put your needle into the loop

P1190374


gently pull the loop tight and you have your first tiny stitch.


P1190375


...you can now continue to stitch your design
using tiny stitches especially on the curves and points.
This works well when doing french knots too.


P1190376

When your floss is getting short bring your needle to the back
and slide your needle under 3 or 4 stitches to secure the end.
  Trim threads.
 This method makes for a neat back
but can be used only when you want to stitch with 2, 4 or 6 strands of floss. 
If you have any questions please feel free to email me
or leave me a comment and I will email you back.

This is the front of one of my blocks...
Oops
I still have the birdie to stitch in the nest....

Snowman stitchery front

This is the back of a block......and

Snowman stitchery back

both look pretty neat.

On February 9th I'm a guest blogger on Stash Manicure.  Hope you come for a visit.
I'll be sharing a few of my binding tips and
I'll be having a Valentine  give away.

Hugs and Happy Stitching

Pauline